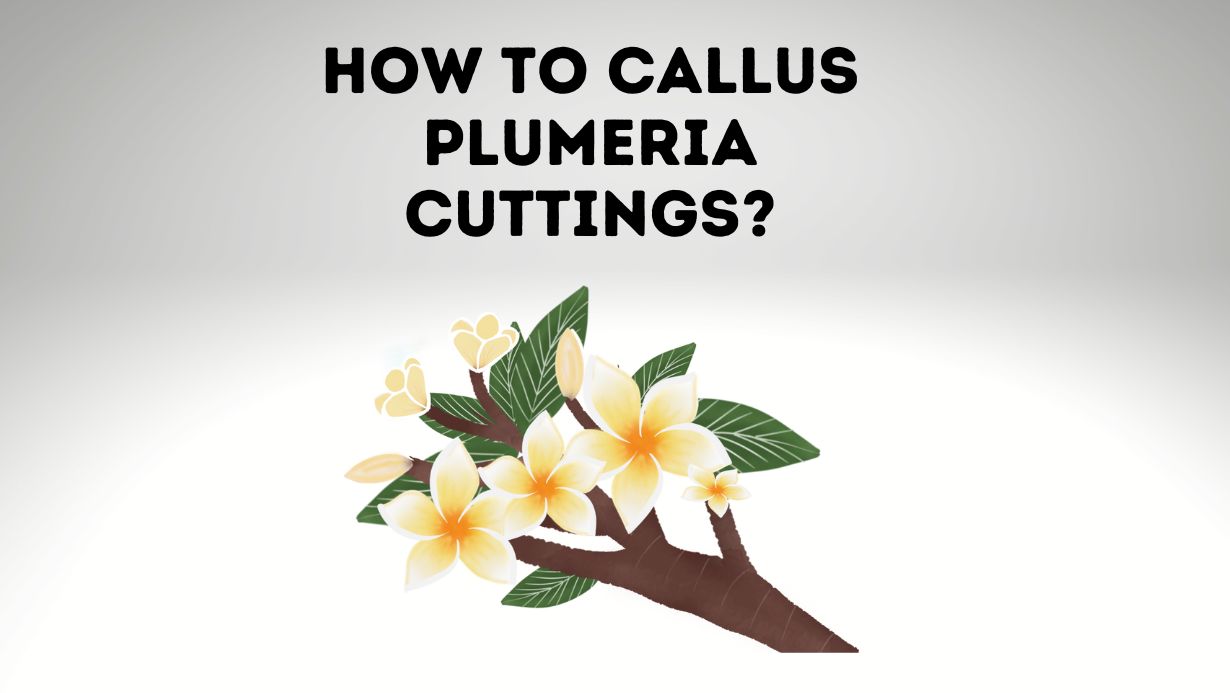
Callingus plumerias is the process of allowing the cuttings to heal so they can be planted. This process usually takes about 2-3 weeks.
There are several ways to callus plumerias, but the most common method is to place the cutting in a well-ventilated area with indirect sunlight and allow it to dry out.
Once the cutting has dried out, it can then be placed in a potting mix or directly planted into the ground. Keep reading to learn more about how to callus plumerias.
Cut off all flower and flower bud stalks. Remove more than two leaves at the top of the cutting because this will increase growth potential. Wrap the end of the cutting in plastic wrap or in potted coconut coir. Leave it for two weeks so it forms a callus on the end.
Why do plumeria cuttings need a callus?
When taking a cutting from a plumeria, it is important to allow the cutting to form a callus. A callus is an area of thickened tissue that forms over a wound. The callus helps to protect the plant from infection and allows it to heal.
It can take several weeks for a cutting to form a callus. During this time, it is important to keep the cutting moist and in an environment with high humidity. Once the callus has formed, the cutting can be transplanted into the soil.
How to create a callus on plumeria cuttings
If you want to propagate plumeria, also called frangipani, one of the easiest ways is to create a callus on the cutting. A callus is simply an area of new growth that forms over a wound. By creating a callus on your cutting, you’re essentially giving it a head start in the rooting process. Here’s how to do it:
1. Start with a fresh plumeria cutting that has at least two leaves. Cut off any flowers that are present.
2. Using a sharp knife or pruners, make a clean cut just below a leaf node (the point where the leaf meets the stem). Make sure your cut is at an angle so that more surface area is exposed for callusing.
3. Immediately place the cutting in water and wait for the callus to form. This can take anywhere from a few days to a couple of weeks.
4. Once the callus has formed, you can pot up your cutting in well-draining potting mix and keep it moist until roots begin to form (which can take several weeks).
Be sure to give your rooted cutting plenty of light but not direct sun, which can scorch new growth.
How to care for plumeria cuttings with a callus
Once you have taken your cutting, it is important to care for it properly so that it can develop a callus.
Here are some tips on how to do this:
1. Place the cutting in a well-ventilated area out of direct sunlight.
2. Keep the cutting moist by misting it regularly or placing it in a humidity dome.
3. Allow the cutting to form a callus by keeping the wound area dry. This usually takes 7-10 days.
4. Once the callus has formed, you can pot up the cutting in a well-draining potting mix and begin watering it as usual.
How Long Do You Let Plumeria Cuttings Dry?
You should let your plumeria cuttings dry for at least 24 hours before planting them.
This will give the cuttings time to callus, which will help them to root better.
If you are letting your plumeria cuttings dry indoors, make sure to keep them in a well-ventilated area.
The ideal drying temperature is between 70-80 degrees Fahrenheit. Cuttings should be dried for at least 24 hours before being placed in rooting hormone.
How Do You Seal A Plumeria Cutting?
When you are ready to seal your plumeria cutting, dip the bottom of the cutting into a rooting hormone.
Then, insert the cutting about halfway into a container of moist perlite or vermiculite.
Finally, cover the container with plastic wrap or a lid to create a humid environment.
Check on your cutting daily to make sure the perlite or vermiculite remains moist. In about two weeks, you should see new growth emerging from the cutting, at which point you can transplant it into the soil.
Tips On Growing Plumeria From A Cutting
If you want to grow plumeria from a cutting, there are a few things you need to do to ensure success. First, you need to choose a healthy cutting that is at least 6 inches long and has at least 2-3 leaves. Once you have your cutting, you need to remove the bottom leaves and dip the end of the cutting in rooting hormone.
Next, you need to find a pot that is at least 6 inches deep and fill it with well-draining potting mix. Once your pot is ready, insert the cutting about halfway into the mix and firm it around the base of the cutting. Water the soil around the cutting until it is moist but not soggy.
Place your pot in an area that receives bright indirect sunlight and keep an eye on the soil moisture levels. Allow the soil to dry out slightly between waterings. In 4-6 weeks, you should see new growth on your cutting which is an indication that it has rooted successfully.
Conclusion
Now that you know how to callus plumeria cuttings, you can get started on propagating your own plants. This is a great way to increase your collection or simply to have more plants for yourself. With a little patience and the right conditions, you can successfully callus plumeria cuttings and have new plants in no time.


![Plumeria Infested with Mealybugs: [Causes, Prevention & Treatment]](https://plumeriaguy.com/wp-content/uploads/2023/06/18-768x433.jpg)

