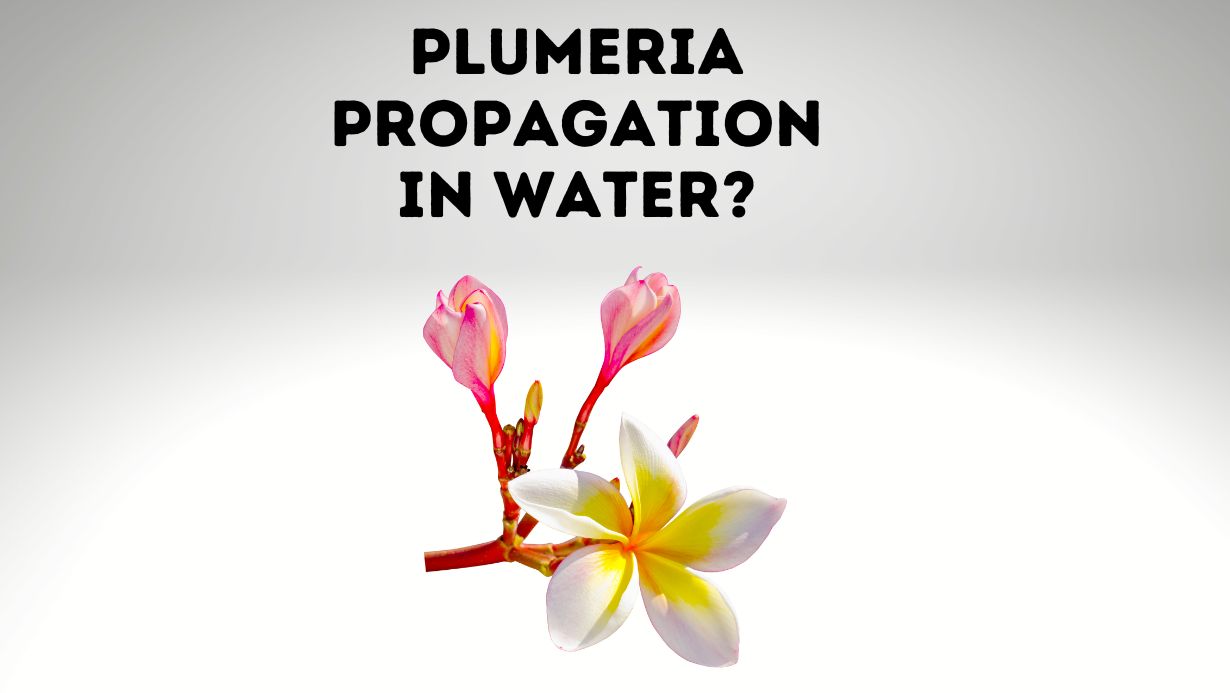
Plumeria is a beautiful plant that produces fragrant flowers. The flowers can be used to make leis, or used as decorations in homes and offices. Plumeria can be propagated in water, using either stem cuttings or root cuttings. In this article, we will discuss how to propagate plumeria in water. We will cover the supplies needed, the steps involved, and troubleshooting tips. By the end of this article, you will know how to successfully propagate plumeria in water.
What You Need
In order to propagate plumeria in water, you will need the following items:
-A clean, sharp knife
-A glass or plastic container that is at least 6 inches deep
-Freshwater
-A rooting hormone (optional)
First, use the knife to take a cutting from a healthy plumeria plant. The cutting should be about 6 inches long and include 2-3 leaves. Make sure that the cut is made cleanly and at a 45 degree angle.
Next, fill the container with freshwater and add the rooting hormone if you are using it. Then, place the cutting in the container so that the leaves are above the water line.
Set the container in a location where it will receive bright, indirect sunlight and wait for new growth to appear. Keep an eye on the water level and make sure to keep it filled as needed. After about 6-8 weeks, you should see new roots growing from the cutting. At this point, you can transplant it into soil.
Step 1: Prepare the Cutting
Cut a 6-8 inch stem from a healthy plumeria plant that has been recently watered. Using clean, sharp shears or a knife, make a 45-degree cut just below a leaf node. Remove the bottom leaves from the cutting, leaving 2-3 leaves near the top of the cutting.
If you want to encourage root growth, you can dip the cut end of the stem in rooting hormone before planting it in water.
Step 2: Place the Cutting in Water
To propagate plumeria in water, you will need to take a cutting from an existing plant. The cutting should be about 6 inches long and include at least two leaves. Cut the stem at an angle just below a leaf node.
Next, fill a clean drinking glass with room-temperature water and place the cutting inside. Make sure that the leaves are not submerged in the water. Change the water every few days to keep it fresh.
Within a few weeks, you should see roots beginning to form at the leaf nodes where the stem was cut. Once the roots are about 2 inches long, you can transplant the cutting into soil.
Step 3: Change the Water Regularly
It’s important to change the water regularly when propagating plumeria in water. The frequency will depend on the temperature and humidity, but as a general rule, you should change the water every few days.
If the water starts to look cloudy or dirty, it’s time for a change. Also, be sure to keep an eye on the roots. If they start to look brown or mushy, it’s a sign that they’re not getting enough oxygen and you’ll need to change the water more frequently.
To change the water, simply remove the Plumeria cutting from the old water and place it in a clean container with fresh water. Be sure to use filtered or distilled water if your tap water is high in minerals.
Step 4: Monitor for Root Growth
As your plumeria cutting begins to grow roots, it’s important to monitor the growth and health of the roots. Look for any brown or black roots, as these may be indicative of root rot. If you see any roots that look unhealthy, you can trim them away with a sharp knife.
It’s also important to keep an eye on the water level in your container. As the roots grow, they will absorb more and more water. Make sure to add water to the container as needed so that the roots are always submerged.
If you see healthy root growth and your cutting is staying hydrated, congratulations! Your plumeria is well on its way to becoming a beautiful new plant.
Step 5: Potting Your Plumeria Plant
After your plumeria cutting has taken root and grown a few inches, it’s time to pot it in soil. Choose a well-draining potting mix and a pot that is large enough to accommodate the roots.
Fill the pot with potting mix and make a small hole in the center. Gently remove your plumeria cutting from the water and plant it in the hole. Firm the potting mix around the base of the plant.
Water your plumeria deeply and allow it to drain completely. Place the pot in a bright location out of direct sunlight. Keep the soil moist, but not soggy, and fertilize monthly during the growing season.
Can Plumeria Root In Water?
Yes, plumeria can root in water. To propagate plumeria in water, take a cutting that is at least 6 inches long and has at least 2-3 leaves. Remove the bottom leaves so that only the top leaves are remaining. Place the cutting in a glass or jar of water and make sure that the leaves are not touching the water. Place the glass or jar in an area with bright, indirect sunlight and wait for roots to form. This can take anywhere from 2-4 weeks. Once roots have formed, you can then transfer the cutting to soil.
How Long Does Plumeria Take To Root In Water?
If you’re looking to propagate plumeria in water, you’ll be happy to know that the process is relatively simple and doesn’t take very long. In most cases, plumeria will root in water within a few weeks. However, it’s important to note that the rooting process can vary depending on the type of plumeria and the conditions in which it’s grown. Additionally, it’s worth mentioning that some plumeria varieties are easier to propagate than others.
So, how long does plumeria take to root in water? Generally speaking, you can expect roots to form within 2-4 weeks. However, as we mentioned before, this timeframe can vary depending on the type of plumeria and the conditions under which it’s grown. If you’re unsure about how your particular variety of plumeria will respond to propagation in water, we recommend doing a bit of research beforehand or consulting with a knowledgeable nurseryman or gardener.
Water Rooting Vs Soil Rooting Plumeria
As you know, plumeria can be propagated in either water or soil. But which method is better? Water rooting or soil rooting?
Here’s a quick rundown of the pros and cons of each method:
Water Rooting Pros:
-It’s easy to do and doesn’t require any special equipment.
-The roots grow quickly.
-You can see the progress of the roots as they grow.
-It’s a low-maintenance way to propagate plumeria.
Water Rooting Cons:
-The roots are less sturdy and more fragile than plumeria roots that are grown in soil.
-The plant is more susceptible to disease.
-If the water level gets too low, the roots will dry out and the plant will die.
Soil Rooting Pros:
-The roots are sturdier and less likely to break than water-rooted plumeria plants.
-Soil provides anchorage for the growing plant, so it’s less likely to tip over.
-Soil-rooted plants are less susceptible to disease than water-rooted plants.
What Is The Best Way To Root A Plumeria Cutting?
If you’re looking to propagate plumeria in water, the best way to root a plumeria cutting is to use a method called “water rooting”. Water rooting is a simple propagation method that anyone can do with just a few supplies.
To water root a plumeria cutting, you’ll need:
-A sharp knife or garden shears
-A glass jar or vase
-Peat moss or coco coir
-Water
-Root hormone powder (optional)
Here’s how to do it:
1. Cut a 6-8 inch piece of stem from a healthy plumeria plant. Make sure to make your cut just below a node, which is where new leaves and roots will sprout from.
2. Strip all the leaves off of the cutting except for 2-3 at the top. These leaves will help the cutting photosynthesize and produce food for the new roots.
3. If desired, dip the cut end of the Plumeria stem into some root hormone powder. This isn’t necessary but can help encourage faster root growth.
4. Fill your glass jar or vase with water and add some peat moss or coco coir to help support the cutting. You don’t need much, just enough to keep the cutting from floating.
5. Place your Plumeria cutting into the jar and put it in a bright spot out of direct sunlight. Check on your cutting every few days and
Do Plumeria Cuttings Need To Dry Out Before Planting?
Plumeria cuttings need to dry out for at least 24 hours before planting. This will allow the cutting to callous over and form a strong root system. If you are propagating in water, make sure to change the water every few days to prevent the roots from rotting.
How Long Do You Soak Plumeria Cuttings?
When it comes to propagating plumeria, one of the most common questions is how long to soak the cuttings. The answer really depends on the type of cutting you have. If you have a fresh cutting that is still actively growing, you will want to soak it for 24 hours. This will give the cutting time to develop a good root system. If you have a hardwood cutting that is not actively growing, you will want to soak it for 48 hours. This will give the cutting time to develop a strong root system.
Conclusion
With the right conditions and care, it’s easy to propagate plumeria in water. All you need is a healthy cutting from a plumeria plant and a container of clean water. By following these simple instructions, you can have success propagating your own plumeria plants in no time. Give it a try and see for yourself how easy it is!
![Black Tip Fungus On Plumeria: [Causes and Prevention Tips]](https://plumeriaguy.com/wp-content/uploads/2022/12/Black-Tip-Fungus-On-Plumeria-768x433.jpg)