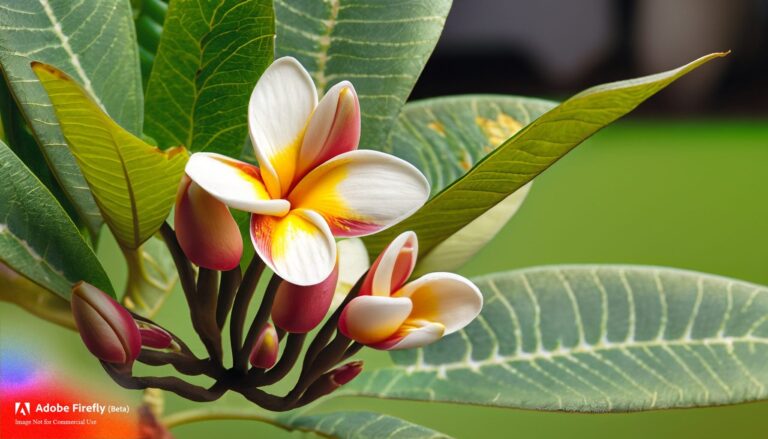
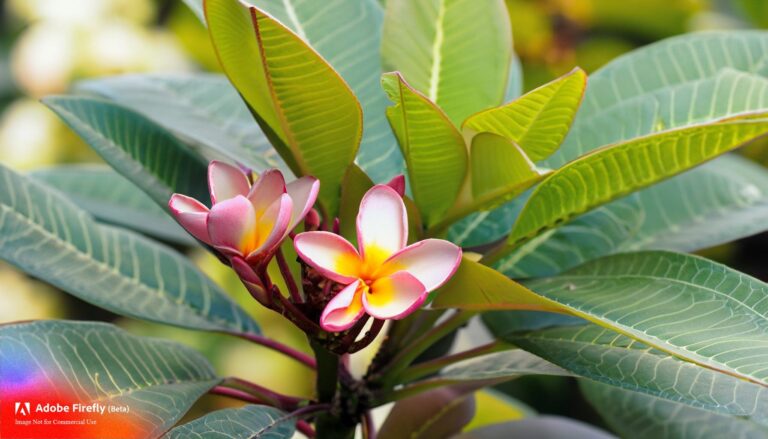
Caring for plumeria in pots requires attention to various aspects, including watering, sunlight, temperature, fertilization, and pruning. Here are some guidelines to help you care for your potted plumeria:
To successfully grow and care for plumeria in a pot, follow these steps:
- Choose the right pot: Select a pot that is at least 12 to 18 inches (30 to 45 centimeters) in diameter and 12 to 16 inches (30 to 40 centimeters) deep. Ensure the pot has drainage holes at the bottom to allow excess water to escape.
- Potting mix: Use a well-draining potting mix specifically formulated for cacti and succulents, or create your own by combining regular potting soil with perlite or coarse sand. This helps prevent waterlogged soil and root rot.
- Planting: Place your plumeria in the pot, ensuring the root ball is centered. Fill the pot with the potting mix, gently pressing it down to secure the plant. Leave a small gap between the soil surface and the rim of the pot to allow for watering.
- Sunlight: Plumerias require full sunlight to thrive. Place your potted plumeria in a location that receives at least 6 to 8 hours of direct sunlight each day. If growing indoors, position it near a south-facing window or use grow lights to provide sufficient light.
- Watering: Water the plumeria thoroughly when the top inch (2.5 centimeters) of the soil feels dry. Allow the water to soak through the drainage holes, but ensure excess water drains away. Avoid overwatering, as plumerias are drought-tolerant and can suffer from root rot if the soil remains too wet.
- Fertilization: Feed your plumeria with a balanced fertilizer formulated for flowering plants. Start fertilizing when new growth appears in spring and continue every 2 to 3 weeks until late summer. Reduce or stop fertilization during the dormant season (winter). Follow the fertilizer instructions for proper dosage.
- Pruning: Prune your plumeria in early spring before new growth emerges. Remove dead, damaged, or diseased branches, and trim back overgrown branches to maintain a compact shape. Pruning also promotes better air circulation and sunlight penetration.
- Winter care: If you live in a region with cold winters, protect your plumeria from frost. Bring the potted plant indoors and place it in a cool, dry location such as a garage or basement. Reduce watering during this period and provide minimal light to encourage dormancy. Move the plant back outdoors when the danger of frost has passed.
- Pests and diseases: Regularly inspect your plumeria for common pests like aphids, mealybugs, or spider mites. If an infestation is present, use insecticidal soap or horticultural oil to control the pests. Plumerias are generally resistant to diseases but ensure good airflow around the plant to prevent fungal or bacterial issues.
By following these steps and providing proper care, your plumeria will flourish in a pot and reward you with its beautiful and fragrant blossoms.
The Best Pot For Plumeria Outdoor And Indoor Plumeria
When selecting the best pot for plumeria, whether for outdoor or indoor cultivation, there are several factors to consider. Here are some recommendations:
Outdoor pots:
a. Terracotta pots: Terracotta pots are a popular choice for outdoor plumeria cultivation. They are porous, allowing for better airflow to the roots. However, terracotta pots can dry out more quickly, so they require more frequent watering.
b. Ceramic pots: Ceramic pots provide a beautiful and durable option for outdoor plumeria. They come in various designs and colors, adding aesthetic appeal to your garden or patio. Make sure the ceramic pot has proper drainage holes.
c. Plastic pots: Plastic pots are lightweight, affordable, and retain moisture better than terracotta or ceramic pots. They are also more resistant to freezing temperatures, making them suitable for colder climates.
Indoor pots:
a. Ceramic pots: Ceramic pots are a great choice for indoor plumeria cultivation as well. They come in a wide range of styles and colors, allowing you to match your indoor decor. Make sure the ceramic pot has drainage holes to prevent waterlogging.
b. Plastic pots: Plastic pots are also suitable for indoor plumeria. They are lightweight, easy to move, and retain moisture well. Look for plastic pots with drainage holes or consider using a plastic liner with drainage holes inside decorative pots.
c. Self-watering pots: If you prefer a more convenient option, self-watering pots can be a good choice for indoor plumeria. These pots have a reservoir at the bottom that slowly releases water to the plant as needed, reducing the frequency of watering.
Regardless of the material you choose, ensure the pot has proper drainage holes to prevent water accumulation and potential root rot. Additionally, consider the size of the pot. Plumeria plants have a deep root system, so select a pot that allows sufficient space for root growth.
Overall, the best pot for plumeria will depend on your personal preferences, the specific growing conditions, and the climate in your area. Choose a pot that suits your needs and provides proper drainage and space for the plant to thrive.
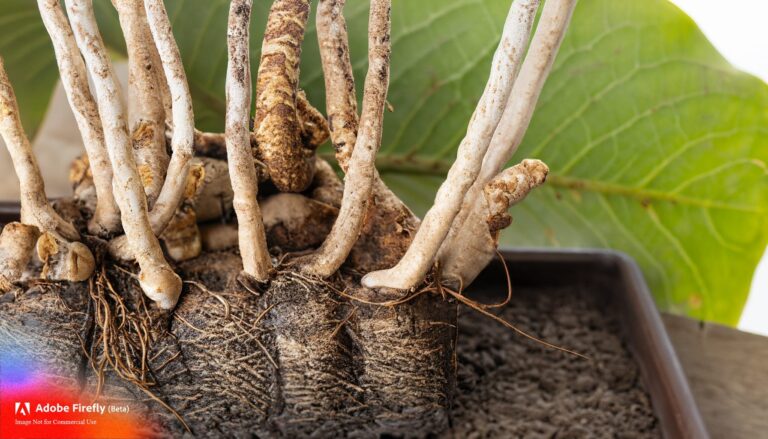
The Best Soil For Plumeria In Pots
The best soil for plumeria in pots is a well-draining mix that provides a balance of moisture retention and aeration for the plant’s roots. Here are some recommendations for creating or selecting the ideal soil for potted plumeria:
- Cactus and succulent mix: Plumerias require soil that drains well to prevent waterlogged conditions. A cactus and succulent mix, readily available at garden centers, is an excellent choice. These mixes typically contain a blend of porous materials like perlite, sand, or pumice that promote drainage.
- DIY mix: If you prefer to create your own soil mix, combine regular potting soil with additives that improve drainage. A suitable DIY mix can be made by blending equal parts of regular potting soil, perlite, and coarse sand. This mixture helps prevent excessive moisture retention while providing aeration to the roots.
- Amendments: You can further enhance the soil by adding organic matter such as compost or well-rotted manure. This improves the soil structure and nutrient content. However, be cautious not to add too much organic matter, as it can retain too much moisture.
- pH level: Plumerias prefer slightly acidic to neutral soil with a pH range of 6.0 to 7.0. Most commercial potting mixes and cactus and succulent mixes are already adjusted to this pH range. However, if you create your own mix, you can check the pH using a soil pH testing kit and adjust it if necessary with the addition of amendments like sulfur or lime.
When potting your plumeria, ensure the soil is well-mixed and loose to promote proper root development. It’s important to note that plumerias are susceptible to overwatering, so always ensure the soil has good drainage and allow the soil to dry out slightly between waterings.
Remember to repot your plumeria every 2 to 3 years to refresh the soil and provide adequate space for root growth. By using a well-draining soil mix, you can provide optimal conditions for your potted plumeria to thrive and produce beautiful blooms.
What Size Pot For Plumeria Cuttings
When selecting a pot size for plumeria cuttings, it’s essential to provide enough space for root development while avoiding excessive container size that could hinder successful rooting. Here’s a general guideline for choosing the appropriate pot size for plumeria cuttings:
- Small cuttings: If you have small plumeria cuttings with a limited root system, it’s best to start them in smaller pots. A 4- to 6-inch (10-15 centimeters) diameter pot is usually suitable. This size allows for better control of moisture and prevents the cutting from being overwhelmed by a large pot.
- Medium cuttings: For medium-sized plumeria cuttings with some root development, you can opt for a slightly larger pot. A 6- to 8-inch (15-20 centimeters) diameter pot should provide sufficient space for root growth while still maintaining a controlled environment.
- Large cuttings: If you have larger plumeria cuttings with well-developed roots, you can use a larger pot to accommodate their size. An 8- to 12-inch (20-30 centimeters) diameter pot should be appropriate.
Summary
Remember that regardless of the pot size, it’s crucial to ensure proper drainage by having drainage holes at the bottom of the pot. This helps prevent waterlogging and potential root rot. Additionally, avoid using excessively large pots as they can lead to soil staying too moist, which can be detrimental to root development.
As the plumeria cuttings establish roots and grow, you can gradually move them into larger pots to provide more space for continued growth. This allows the roots to fill the pot and promotes a healthy and robust plant.
By selecting the appropriate pot size for plumeria cuttings, you can provide an optimal environment for root development and support the successful establishment of your plants.