Repotting plumerias is an essential part of their care routine, ensuring they have enough space for healthy root growth and optimal development. However, the process of repotting can sometimes cause stress to plants, leading to a period of adjustment known as transplant shock. The good news is that with careful planning, proper technique, and attentive aftercare, you can minimize the shock and help your plumeria transition smoothly to its new container. In this guide, we’ll walk you through the steps to repot plumerias without causing unnecessary shock.
When to Repot:
Repotting plumerias is best done during their active growing season, which typically occurs in the spring or early summer. This allows the plant to recover more quickly from the process due to its increased vigor and growth.
Choosing the Right Pot:
- Size: Choose a new pot that is only slightly larger than the current one. An excessively large pot can lead to waterlogged soil and slow root growth.
- Drainage: Ensure the new pot has proper drainage holes to prevent water from accumulating around the roots.
- Material: Terracotta pots are a good choice as they allow for air exchange and moisture regulation, promoting a healthier root environment.
Steps to Repot Plumerias Without Shock:
- Prepare Ahead:
- Water your plumeria a day or two before repotting. Hydrated plants are more resilient to transplant shock.
- Gather Supplies:
- Have the new pot, fresh potting mix, gardening gloves, pruners, and a trowel ready.
- Choose the Right Soil:
- Use a well-draining potting mix formulated for cacti and succulents. You can also create a mix by combining regular potting soil with perlite or coarse sand for improved drainage.
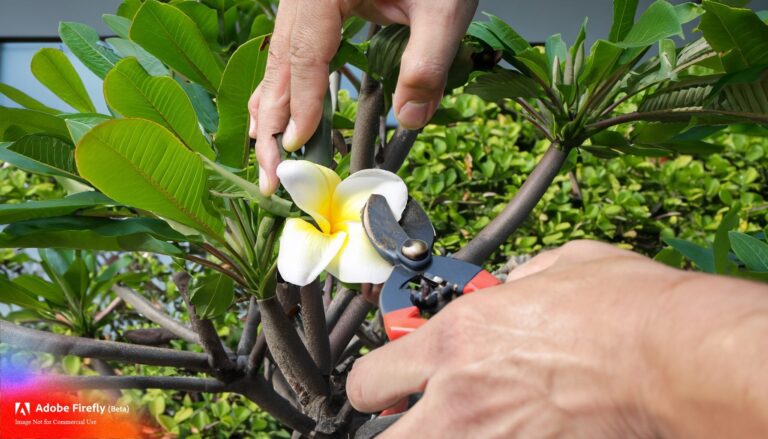
- Prune if Necessary:
- If the plumeria has leggy growth or damaged roots, consider pruning back some of the stems and roots to encourage new growth.
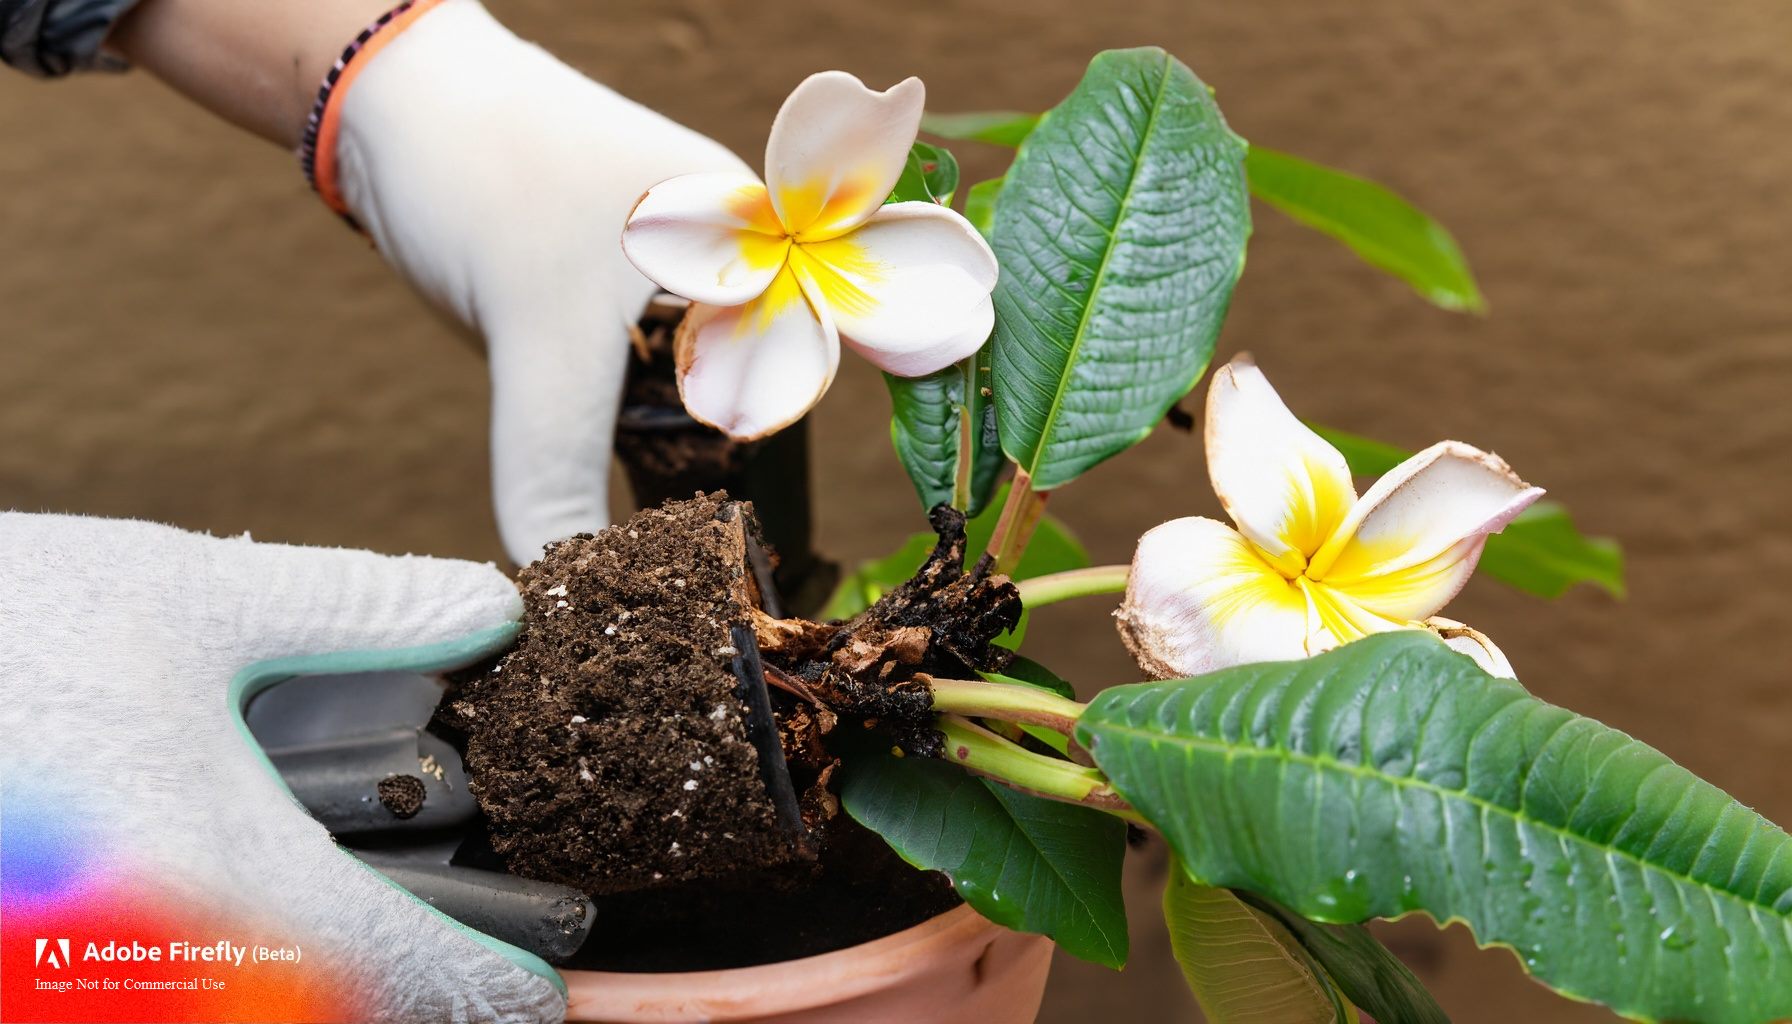
- Remove the Plant:
- Gently tap the pot and carefully remove the plumeria, trying to disturb the roots as little as possible.
- Inspect the Roots:
- Examine the roots for any signs of rot or damage. Trim any dead or unhealthy roots with sterilized pruners.
- Prepare the New Pot:
- Add a layer of well-draining potting mix at the bottom of the new pot.
- Position the Plumeria:
- Place the plumeria in the center of the new pot at the same depth it was in the old pot. Make sure the plant is upright and centered.
- Fill with Soil:
- Gently fill the sides of the pot with potting mix, ensuring the roots are covered while leaving about an inch of space at the top for watering.
- Water Thoroughly:
- Water the plumeria thoroughly, allowing water to drain out of the bottom. This helps settle the soil and removes air pockets around the roots.
- Monitor Light Exposure:
- After repotting, provide the plumeria with filtered sunlight or shade for a few days to reduce stress.
- Resume Care Routine:
- Once the plumeria has settled in its new pot, resume its regular care routine, including proper watering, fertilizing, and sunlight.
Aftercare:
- Monitor Moisture: Keep the soil evenly moist but not waterlogged during the initial weeks after repotting.
- Avoid Fertilizing: Hold off on fertilizing for a few weeks after repotting to allow the plant to acclimate.
- Observe Growth: Keep an eye on your plumeria for signs of new growth, which indicate that it’s adjusting well to its new environment.
By following these steps and being patient and attentive to your plumeria’s needs, you can successfully repot your plant without causing undue shock. With the right care and gradual adjustment, your plumeria will continue to thrive and bring joy to your garden or indoor space.